how to install simplisafe smart lock
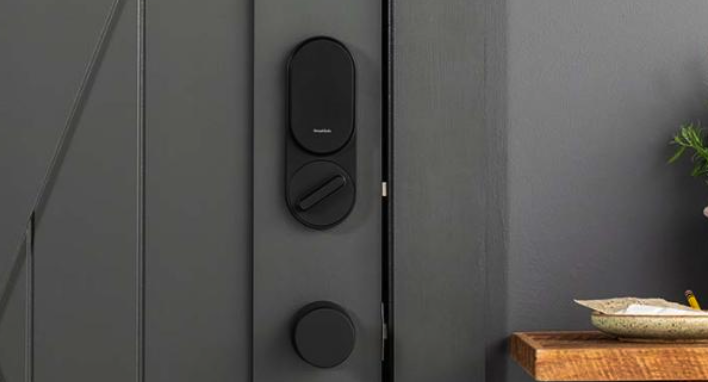
In today’s ever-evolving world of smart technology, SimpliSafe has emerged as a leader in home security solutions. One of their standout products is the SimpliSafe Smart Lock, an innovative device that enhances the security and convenience of your home. In this comprehensive installation guide, we will walk you through the step-by-step process of how to install simplisafe smart lock, ensuring a seamless integration into your existing security system.
Step 1: Familiarize Yourself with the Smart Lock Components Before diving into the installation process, it is essential to understand the various components that come with the SimpliSafe Smart Lock. These include the smart lock itself, a mounting plate, two screws, a strike plate, a deadbolt latch, and four AA batteries. Taking a moment to familiarize yourself with these components will make the installation process smoother.
Step 2: Prepare Your Existing Door To ensure a successful installation, assess the compatibility of the SimpliSafe Smart Lock with your door. This smart lock is designed to work with standard single-cylinder deadbolts. Remove any existing thumb-turn or keypad locks before proceeding. If necessary, consult a locksmith to make any adjustments or modifications needed for the installation.
Step 3: Remove Existing Deadbolt Hardware Before installing the SimpliSafe Smart Lock, you need to remove the existing deadbolt hardware. Start by unscrewing and removing the interior thumb-turn and exterior key lock. Once removed, you will be left with the deadbolt latch and strike plate.
Step 4: Install the Mounting Plate Attach the mounting plate included with the SimpliSafe Smart Lock to the interior side of the door. Line it up with the existing holes and secure it using the provided screws. Ensure that the plate is level and firmly attached to the door.
Step 5: Install the Deadbolt Latch Now it’s time to install the deadbolt latch. Slide the latch into the edge of the door, ensuring that the beveled side faces the direction the door closes. Secure it in place using the screws provided.
Step 6: Install the Strike Plate Position the strike plate on the door jamb, aligning it with the deadbolt latch. Mark the screw holes and use the screws to attach it securely. Verify that the latch properly extends and retracts when the door is closed and opened.
Step 7: Insert Batteries and Activate the Smart Lock Open the SimpliSafe Smart Lock’s battery compartment, which is located on the interior side of the door. Insert the four AA batteries provided, ensuring correct polarity. The lock will automatically power on once the batteries are inserted.
Step 8: Connect the Smart Lock to Your SimpliSafe System To integrate the SimpliSafe Smart Lock into your existing security system, follow the instructions provided by SimpliSafe. This usually involves using the SimpliSafe mobile app or web interface to add the smart lock as a new device. Once successfully connected, you can control the smart lock remotely, manage access codes, and receive real-time notifications.
Learning how to install simplisafe smart lock is a straightforward process that enhances the security and convenience of your home. By following the steps outlined in this comprehensive installation guide or the video provided by SimpliSafe, you can seamlessly integrate this smart lock into your existing security system. SimpliSafe continues to impress with their commitment to user-friendly technology, ensuring that homeowners can enjoy peace of mind and effortless control over their home security.


Leave a Reply
Want to join the discussion?Feel free to contribute!